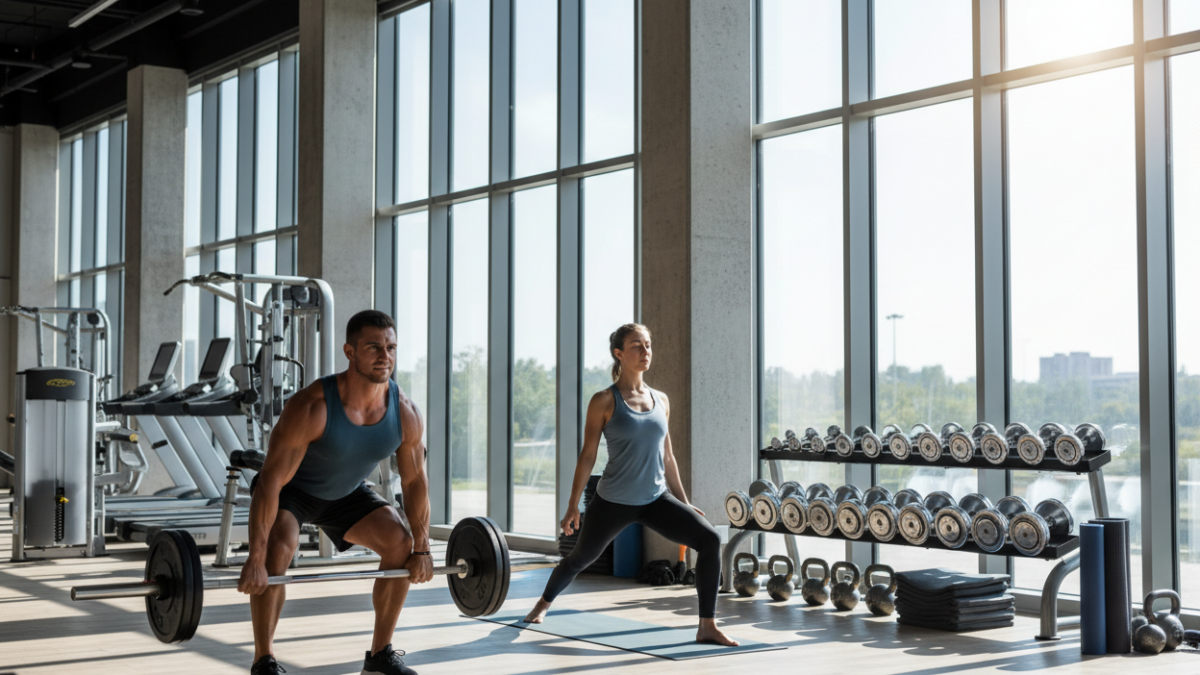

How to Brace Core During Squats for Better Strength and Safety
Mastering how to brace core during squats feels like discovering a secret superpower. It instantly makes hundreds of pounds feel lighter and safer on your back.
Picture an unopened soda can. It resists crushing because of fierce internal pressure, not just its thin walls. Your torso works the same way under a loaded barbell.
Proper bracing creates that “full-can” effect. It transforms your midsection from a flexible tube into a rigid, stable pillar. This is not about sucking in your stomach. It’s about generating 360-degree tension to protect your spine.
The payoff is immediate. You’ll lift with more confidence and raw power. More importantly, you build a fortress against common lower back injuries. This fundamental skill separates those who lift with intention from those who rely on luck.
Let’s build that unshakable foundation.
Key Takeaways
- Bracing creates internal abdominal pressure, making your torso rigid like a sealed can.
- This technique transforms your body into a stable platform for heavy lifting.
- You can lift heavier weights more safely by supporting your spine.
- Proper form drastically reduces the risk of lower back strain and injury.
- Beginners often see rapid strength gains once they learn true stability.
- It’s a foundational skill that improves every major compound lift you perform.
- The focus is on biomechanical safety, not just aesthetic tightness.
Mastering the Technique: How to Brace Core During Squats
Intra-abdominal pressure is the invisible shield that protects your spine under a loaded barbell. This isn’t about willpower. It’s a measurable, physical force you must generate.
Research reveals the stakes. A barbell load equal to your body weight can multiply to ten times that force on your lower back. Creating intra-abdominal pressure directly counteracts this, slashing dangerous spinal load and flexion.
Understanding Intra-Abdominal Pressure and Its Role
Think of your torso as a sealed, full soda can. It resists crushing. An empty can collapses. Your bracing technique decides which one you are.
This internal pressure stabilizes from the inside out. It turns your flexible midsection into a rigid pillar. Studies confirm it improves spinal stabilization and can even aid those with chronic back pain.
Creating a 360° Core Expansion
Forget sucking in your stomach. Effective bracing requires a 360-degree expansion. Push your belly, sides, and lower back outward with air.
Place your hands on your ribs. Practice pushing them apart. This tactile cue teaches true circumferential tension. It engages all surrounding muscles to build a stable foundation.
Mastering this technique transforms your squat. It’s the bedrock of stability for all heavy exercises. For a practical application, integrate core exercises like the Russian twist to reinforce this 360-degree engagement.
Building a Stable Foundation with Effective Bracing
Your squat’s integrity depends on a foundation built before the bar even moves. This isn’t about raw strength; it’s about creating an unyielding position of support.
Engaging the Core and Maintaining Spinal Safety
Start by squeezing your glutes hard. This simple action pulls your pelvis into a neutral alignment, setting your spine up for safety. Bracing while overextended is a dangerous illusion.
Next, take a deep breath without letting your chest rise. Your ribs must stay down, aligned with your hips. This prevents harmful spinal extension.
Now, expand your entire midsection outward—front, sides, and back. Engage all your core muscles in a true 360-degree effort. This creates the rigid pillar your spine needs.

Cues and Mental Imagery for Optimal Bracing
The common “brace for a punch” cue is incomplete. Yes, tighten your abs, but also fire up your obliques and lats. Imagine wrapping your torso in a tight weightlifting belt made of muscle.
Then, “bend the bar over your back.” Actively pull the bar into your back. This fires your lats and tensions the thoracolumbar fascia, adding a critical layer of stability.
Your mental picture? Visualize a pressurized cylinder from your glutes to your shoulders. This cylinder must stay rigid throughout the entire movement.
The biggest error is losing pressure at the bottom of the squat. Maintain that internal tension from descent to lockout. It’s your biological seatbelt. Mastering these cues turns separate actions into one powerful, protective system. For a deeper dive into creating this systemic tension, explore our guide on how to refine your powerlifting technique for safer, bigger.
Integrating Bracing Cues into Your Squat Training
Integrating bracing into your routine requires a clear, step-by-step protocol you can apply immediately. This turns theory into automatic, protective habit under the bar.
Drill this sequence with every warm-up rep. That builds flawless technique for your heaviest sets.
Step-by-Step Bracing Techniques for Beginners
First, squeeze your glutes to lock your pelvis. Next, take a deep breath into your stomach, expanding your entire torso.
Seal the air by pressing your tongue to the roof of your mouth. Finally, actively pull the bar into your back to engage your lats. This four-step method creates immense internal pressure.
Using the Valsalva Maneuver Safely
The Valsalva maneuver means holding that deep breath against a closed airway during the lift. It maximizes stability.
Athletes with heart conditions should consult a doctor first. Always release your breath with control at the top position, then reset.
Common Mistakes and How to Correct Them
Spotting and fixing errors is crucial for safety and strength. Here’s a quick reference table.
| Mistake | Why It’s a Problem | Correction | Key Cue |
|---|---|---|---|
| Exhaling on the ascent | Dumps core stability under weight, increasing risk injury. | Hold breath until lockout. | “Stay sealed until the top.” |
| Breathing into your chest | Fails to create optimal pressure, destabilizing the spine. | Direct air down into your belly. | “Breathe into your belt.” |
| Holding breath for multiple reps | Causes dizziness and dangerous blood pressure spikes. | Reset your breathing at the top of every rep. | “One breath, one rep.” |
| Cranking the belt too tight | Prevents full torso expansion, reducing support. | Snug fit that allows expansion when you brace. | “Belt is a pushing tool, not a corset.” |
Consistent practice of proper technique is your best defense. It engages all the necessary muscles for stability, much like building lower trap strength supports overhead movements. This systematic approach boosts performance and slashes injury risk.
Conclusion
The final piece of the puzzle isn’t about more weight—it’s about smarter execution. You now possess the mechanics and cues for true spinal safety.
Your next session starts now. Practice the four-step sequence with an empty bar. Make that tension automatic before adding load.
This foundational skill gets refined for years. Each rep strengthens your mind-muscle connection and protective mechanisms.
A few focused sessions build a lifetime of safer, stronger lifts. You’ll gain confidence knowing your spine is protected.
Don’t just understand it—do it. Build that bulletproof foundation today.