How to Incorporate Accommodating Resistance in Your Training
You’ll get a clear, practical plan for incorporating accommodating resistance into your barbell work today, not a pile of theory. This method means attaching bands or chains to a barbell so the load changes through the lift, letting you produce force longer and build more confident lockouts.
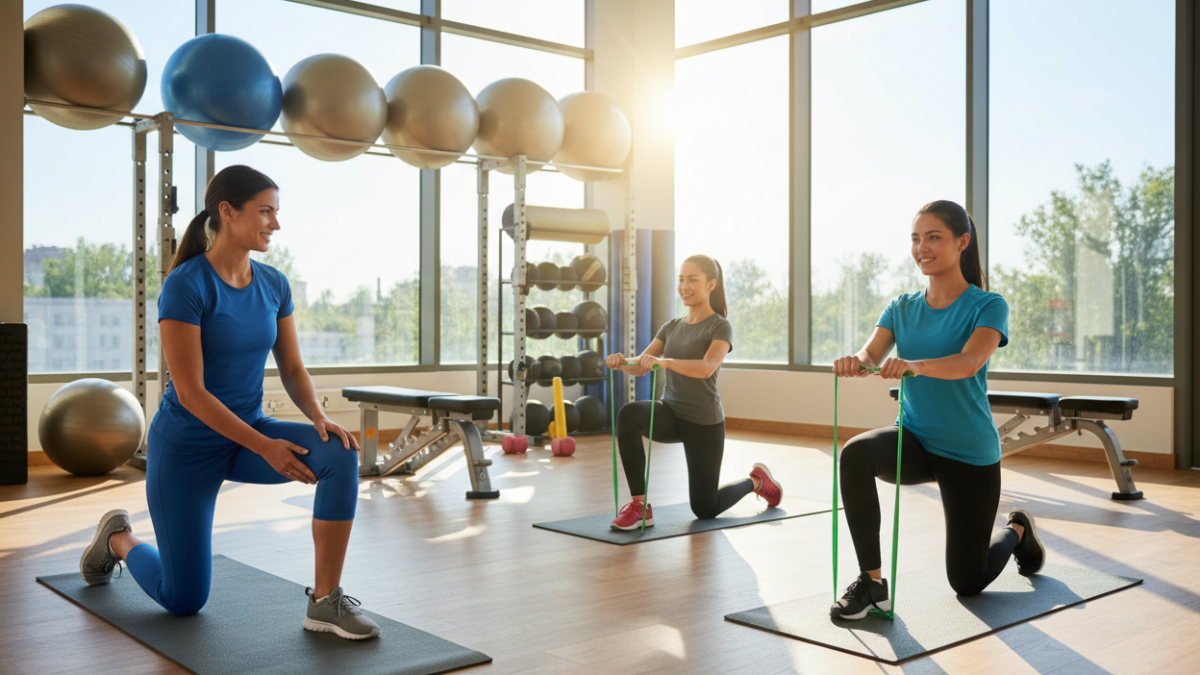
Who this fits: you, if you already squat, bench, and deadlift with decent form and want smart ways to add power and strength. If you’re brand-new to lifting, wait until your bar path and bracing are solid.
Here’s the promise: you’ll learn how it works, how to pick between bands and chains, safe setup steps, and simple templates you can run this week. Safety is non‑negotiable—if a rack feels shaky or you lose control on the down‑phase, don’t add tension.
We’ll focus on transfers to normal barbell training and later show the key numbers to use (roughly 20–25% of your training max at lockout) and how to verify tension instead of guessing. For a deeper look at band work benefits, see hidden benefits of bands.
Key Takeaways
- What you’ll learn: how it works, tool choice, and safe programming.
- Who it’s for: beginners with solid form and intermediate lifters.
- Use bands or chains to extend force production and improve lockout power.
- Keep band/chain tension around 20–25% of your training max at top range.
- Prioritize safety: stable rack and controlled eccentrics before adding tension.
- You’ll walk away with a checklist, setup steps, and ready-to-run templates.
Accommodating resistance explained in plain English
Here’s a simple way to see what bands and chains do to a barbell as you lift.
Definition: You attach bands or chains so the load changes during the rep instead of staying the same the whole time.
What variable resistance actually changes
Normally, many barbell moves have an ascending strength curve. That means the lift feels hardest where your joints are weak and easier near lockout.
Variable resistance makes the bar feel lighter where you need help and heavier where you normally coast. For example, a bench press with bands feels springy low and adds load as you press up.
Why lifts get easier near lockout — and how bands and chains flip that
Near the top, leverage improves and moment arms shrink. You need less force to finish the movement. Bands and chains reverse that pattern. As the bar rises, tension or chain links increase, so the load climbs with you.
- Result: you must keep producing force through the full range.
- What stays: depth, touch point, and strict lockout rules remain the same.
- Feel: bands = springy pull; chains = gradual plate-like change.
| Setup | Low Position | Mid Position | Top/Lockout |
|---|---|---|---|
| No bands/chains | Full plate load | Same load | Same load |
| Bands | Lower effective load | Rising tension | Highest tension |
| Chains | More links on floor = lighter | Links lift = steady increase | More plate-like weight |
Once you grasp this change in the strength curve, you can pick tools to target true sticking points, speed, or pure strength without guessing.
Why lifters and athletes use bands and chains (and what benefits are realistic)
When you add bands or chains, the load rises with your bar path, teaching you to fight through the whole rep. That simple change forces steady force output, so you don’t relax near lockout.
Training the strength curve for better force through the full range of motion
Main real benefit: the load climbs as you finish the rep, so you learn to keep pushing instead of easing off. That carries over to a stronger finish in the squat, bench press, and deadlift.
Breaking sticking points without maxing out every week
A sticking point is where you grind, shift, or lose tightness. Using elastic or linked load lets you overload that segment without testing a true 1RM. You can attack the weak range more often and save heavy singles for planned peaks.
Speed and rate of force development: where dynamic effort work fits
Dynamic effort uses submax weight moved fast. Add moderate bands or chains and you practice accelerating the bar through the full motion. Keep bar path clean—if form breaks, drop tension or weight immediately.
Bands vs chains: the overspeed eccentric effect and what it’s good for
Chains feel steadier and plate-like. Bands add elastic pull and can speed the eccentric, which boosts reactive power if you control it. But bands will punish loose bracing or sloppy setup more than chains.
- Use bands for tempo and reactive strength when technique is solid.
- Use chains for stability and a plate-like increase in load.
- Athletes benefit for rate of force development; regular lifters gain confidence and a fresh stimulus.
| Feature | Bands | Chains |
|---|---|---|
| Top-end tension | High elastic pull | Steady plate-like load |
| Eccentric effect | Can create overspeed lowering | Normal controlled lowering |
| Stability | Requires tight setup | More forgiving bar path |
| Best use | Dynamic effort, reactive power | Overload lockout, stability work |
Choosing between bands, chains, and reverse band setups
Deciding between bands, chains, or reverse bands starts with one question: do you want stability or speed?
If you want a natural bar feel and cleaner stability, choose chains. Chains add plate‑like load as links lift. They rarely pull the bar forward or back, so your bar path stays truer. That makes chains a solid pick for technical squat and bench press work.
If you want bigger top tension and reactive work, choose bands. Bands change tension more dramatically and push your press or squat to accelerate through the top. They’re great for speed days and reactive training, but demand tighter setup and balance.

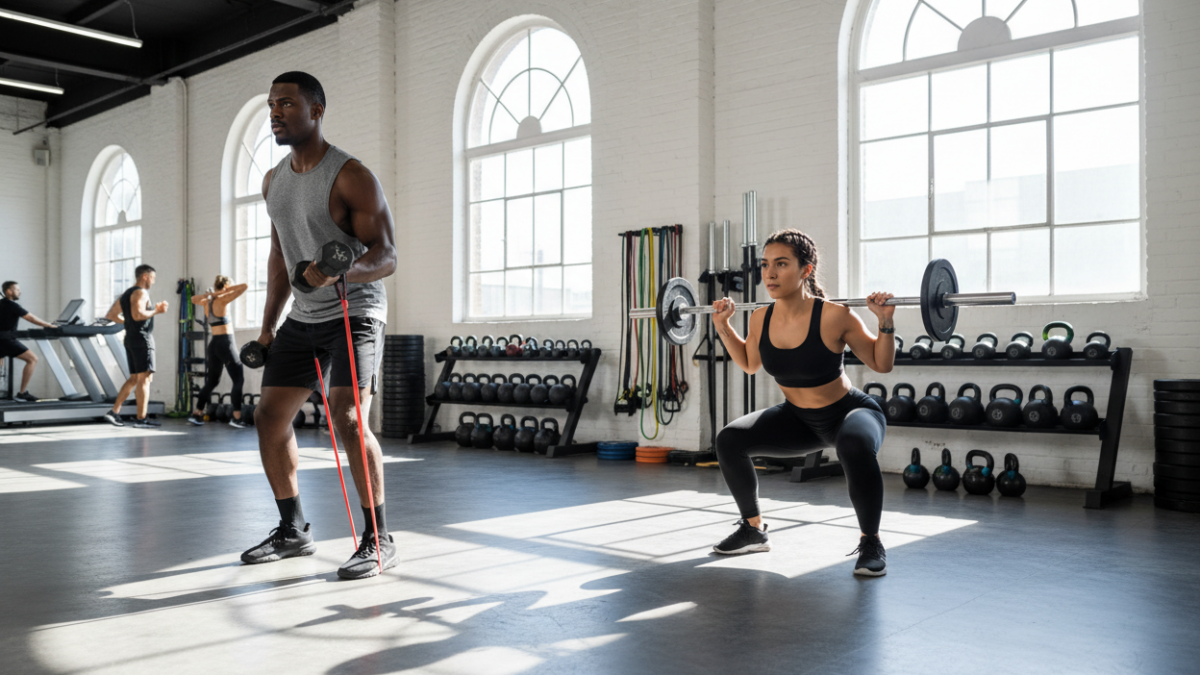
Common setups and when to use them
- Banded squat: anchor bands to the rack base so the load rises as you stand. Good for lockout practice.
- Banded bench press: attach bands to pegs or base for added top tension and faster bar speed.
- Banded deadlift: stand on bands or loop to the bar for extra top load without changing start weight too much.
Reverse banding made simple
Reverse bands run from the top of the rack and lift the bar at the bottom. They reduce the load where you’re weakest and leave the top heavy.
Use reverse banding for overloaded lockouts, building confidence with heavier hands‑on weights, or practicing near‑max technique without constant grinders. Always have solid safeties and a spotter for reverse band bench and squat.
| Tool | Best for | Bar feel | Gym reality |
|---|---|---|---|
| Chains | Stability, technical work | Plate‑like, predictable | Less finicky with rack height |
| Bands | Speed, reactive power | Elastic, high top tension | Tension varies by band brand & rack |
| Reverse band | Overloaded top, confidence | Deload bottom, heavy top | Needs safeties and spotter |
Practical next step: pick one tool for a short training wave and learn it well. Don’t mix everything at once—master one setup, then rotate chains and bands in later waves.
incorporating accommodating resistance into your training without guessing
Don’t guess the feel — test it. Start on dynamic effort days with submax weights so you learn bar behavior and keep technique clean.
Start with safe dynamic effort parameters
Use light bar weight and crisp intent. Try 8–12 sets of 2–3 reps at 50–60% of your training max. Rest 60–90 seconds, keep bar speed fast, and stop if form drifts.
How much to add: the 20–25% rule
Target ~20–25% of your training max at the top. That means the band or chain should contribute roughly that percent at lockout, not piled on top of an old 1RM. Aim the combined load to match today’s plan.
Verify tension — use a scale
Hook a luggage or hanging scale at lockout height and record the band pull. Measure the number with the bar in position, then log it. If you don’t measure tension, you’re guessing and will likely swap speed work for accidental heavy singles.
When to add to max effort — and when not to
After 1–3 three‑week waves of clean technique, use bands or chains for targeted lockout work. Avoid making every max effort a band day. Keep straight‑weight skill sharp for competition‑style lifts.
| Phase | Weeks | Bar %” of TM | Band/Chain % at top |
|---|---|---|---|
| On‑ramp (dynamic) | 1–3 | 50–60% | 20–25% |
| Build (tech) | 4–6 | 60–75% | 20–25% |
| Selective max | After wave | 85–95% (few reps) | Use sparingly for lockout |
Step-by-step setup and safety checks for bands and chains
Before you chase speed, make sure the rack, bar, and anchor points are stable and repeatable. Start each session with quick checks so the gear helps your training, not creates new problems.
Anchoring bands so the rack won’t move in a commercial gym
Confirm the rack is bolted. If it isn’t, weigh the base down with heavy dumbbells or kettlebells. If you can’t secure it, pick a different setup that can’t shift.
Why this matters: bands pull upward and can tip or slide a loose rack under heavy tension.
Getting chain height right
Lay enough chain on the floor at the bottom so the bar is lighter down there. At lockout, aim for about 2–4 links still touching the ground. That creates a real load change through the range.
Check both sides match so the bar won’t tilt or drift during the lift.
Barbell stability, spotters, and technique gates
If the bar whips, swings, or leaves your groove, reduce tension and slow the eccentric. Rebuild control before adding speed.
Always use safeties and tell spotters the bar will feel different. If you can’t hit consistent depth and touch with straight weight, bands and chains will only magnify the issue—stop and fix basics first.
| Check | Pass | Action if Fail |
|---|---|---|
| Rack bolted | Yes / No | Weigh down or change rack |
| Band anchor symmetry | Equal length both sides | Reclip / adjust attachment point |
| Chain links touching | 2–4 at lockout | Add/remove links for match |
| Bar path stability | Stable, repeatable | Lower tension, fix technique |
Repeatability tip: log band type, link count, and pin height so your next session is the same stimulus—not a new experiment. This small habit makes steady progress.
Sample training templates you can run this week
Want a simple week that teaches top-end force while keeping technique honest? Use these session templates. They are plug-and-play, clear on intent, and include small coaching cues so you don’t turn speed work into sloppy form.
Dynamic effort lower — box squats + speed deadlifts
Goal: train bar speed and finish through the top. Do 12×2 box squats at ~75% total load (example: ~50% bar weight + ~25% bands/chains at top).
Follow with 6×2 speed deadlifts at similar loading. Cue: identical stance, same box depth, hard heel drive, and aggressive finish.
Dynamic effort upper — bench vs bands
Goal: fast, tight presses. Do 9×3 bench press vs bands at ~75% total. Keep a consistent touch point and press aggressively into the band tension.
Cue: chest up, scapula packed, feet drive. If the bar path drifts, drop tension or weight.
Max effort lower — squat vs chains + accessories
Work up to a confident top single with SSB squat vs ~150 lb chain. Don’t chase a messy PR. Then hit 3–4 accessories: SSB good mornings, reverse hypers, inverse curls, standing abs.
Max effort upper — bench vs bands + back/triceps
Build to a top single on a bench variation with bands. Use spotters and safeties. Finish with rows, rolling DB triceps extensions, curls, reverse pec deck, and push-ups to lock in support strength.
| Session | Sets x Reps | Load target |
|---|---|---|
| DE Lower | 12×2 + 6×2 | ~75% total (50/25 split) |
| DE Upper | 9×3 | ~75% total vs bands |
| ME Lower/Upper | Work to single + accessories | Confident top single |
Progression tip: change only one variable each week — small bar weight, a few more chain links, or a slight band upgrade — so you know what moved the needle.
Conclusion
Match the load to your strength curve and you’ll force steady effort from bottom to top.
Do this first: pick one lift — squat, bench, or deadlift — and run a short dynamic-effort wave using bands or chains. Focus on clean, repeatable reps and consistent bar path.
Aim for roughly 20–25% of added load at lockout and verify band tension with a scale so your training matches your plan. Log the band pull, chain links, and bar weight each session.
Quick tool note: chains feel steadier and act more like straight weight. Bands build speed-strength and a springy eccentric — great when you control the tempo.
Don’t chase novelty. Bands and chains are a way to progress regular lifts, not replace them. If the rack moves, anchor it or change the setup — safety first.
Rotate tools by wave, track what you did, and let confidence under load grow slowly. That steady approach builds lasting strength and better conditioning for your lifts.