A Ten-Step Protocol for Safe One-Rep Max Testing

 0
0
 1
1 Test a true one-rep max only on a stable, well-practiced compound lift. Use a conservative warm-up, small planned jumps, long rests, reliable spotters or rack safeties, and no more than three serious attempts. For most natural lifters, a clean, repeatable single beats a grinder because you can train from it without turning the test into a recovery problem.
Last updated: 2026-08-22
The one-repetition maximum
A one-repetition maximum test measures the heaviest load you can lift for one complete repetition with repeatable technique. The lift must meet the same range of motion and setup you use in training.
A valid one-rep max is more than getting a weight from one position to another. Your technique must stay within the standard you set before the attempt. If your squat becomes shallow or your bench press loses control, the lift doesn’t count.
A true 1RM differs from a rep personal record. A set of five with a new weight is useful, but it doesn’t prove what you can lift once. An estimated maximum uses a formula based on a submaximal set. That estimate can guide training, but it can’t replace a tested single.
Your result also belongs to one lift variation. A competition-style bench press, paused bench press, close-grip bench press, and dumbbell press don’t share one maximum. Record the exact lift, setup, range of motion, and equipment.
The one-repetition maximum is useful because it gives you a clear strength marker. Still, the number only matters if the test conditions are clear enough to repeat.
Who should test a maximum and who should skip it?
Test a maximum when you have a practical reason and enough practice to make the result reliable. You might use it to set training loads, check progress after a training block, or prepare for a strength event.
You should already understand the lift and its basic positions. A new lifter needs practice more than a maximum. If your reps look different every session, a heavy test will measure your changing technique rather than your strength.
Skip the test if:
- You have pain during the lift or after normal training.
- You’re returning from an injury and haven’t rebuilt consistent strength.
- You’re unusually tired, sick, dehydrated, or poorly recovered.
- You can’t explain the lift’s range of motion and safety plan.
- You don’t have a proper rack, safeties, or trained spotters.
- You’re testing because a video or training partner pressured you.
Your joints get a vote. A lift that feels unstable with moderate weight has no business being tested at a maximum.
You also don’t need a 1RM for every exercise. Most lifters can plan curls, lateral raises, machine work, and other smaller movements from good rep sets. Test the lifts that give you useful information, not every movement in your program.
The best lifts for a true 1RM
Stable, practiced barbell lifts are the best candidates. The back squat, bench press, deadlift, and overhead press can all provide useful results when you use a consistent setup and clear standards.
A lift earns a maximum test when:
- You’ve practiced it enough to repeat the same positions.
- The load can be secured with a rack, safeties, or a clear bail-out plan.
- The range of motion is easy to judge.
- You can make small load changes.
- A failed attempt won’t trap you under unsafe equipment.
Which lifts belong in a maximum test?
Machines are poor choices for a general 1RM test. Their resistance, seat position, cable path, and starting friction can change between gyms. You can still record a heavy machine single for your own training, but don’t treat it like a universal strength score.
Dumbbells create another problem. Getting heavy dumbbells into position can be harder than the exercise itself. They also demand more balance, and small weight jumps may be impossible.
Isolation exercises are worse still. A heavy single on a curl or leg extension adds little useful information and gives you less room to recover from a mistake. Use hard, controlled rep sets instead.
Highly technical lifts also need caution. Olympic lifts, unusual barbell variations, and unstable movements may be valuable in training, but a maximum single often tests timing and coordination more than useful strength. If the lift breaks down quickly under load, skip the test.
For general strength work, you’ll get more from finding your best rep range for strength than from chasing a maximum on every exercise.
Preparation before the test
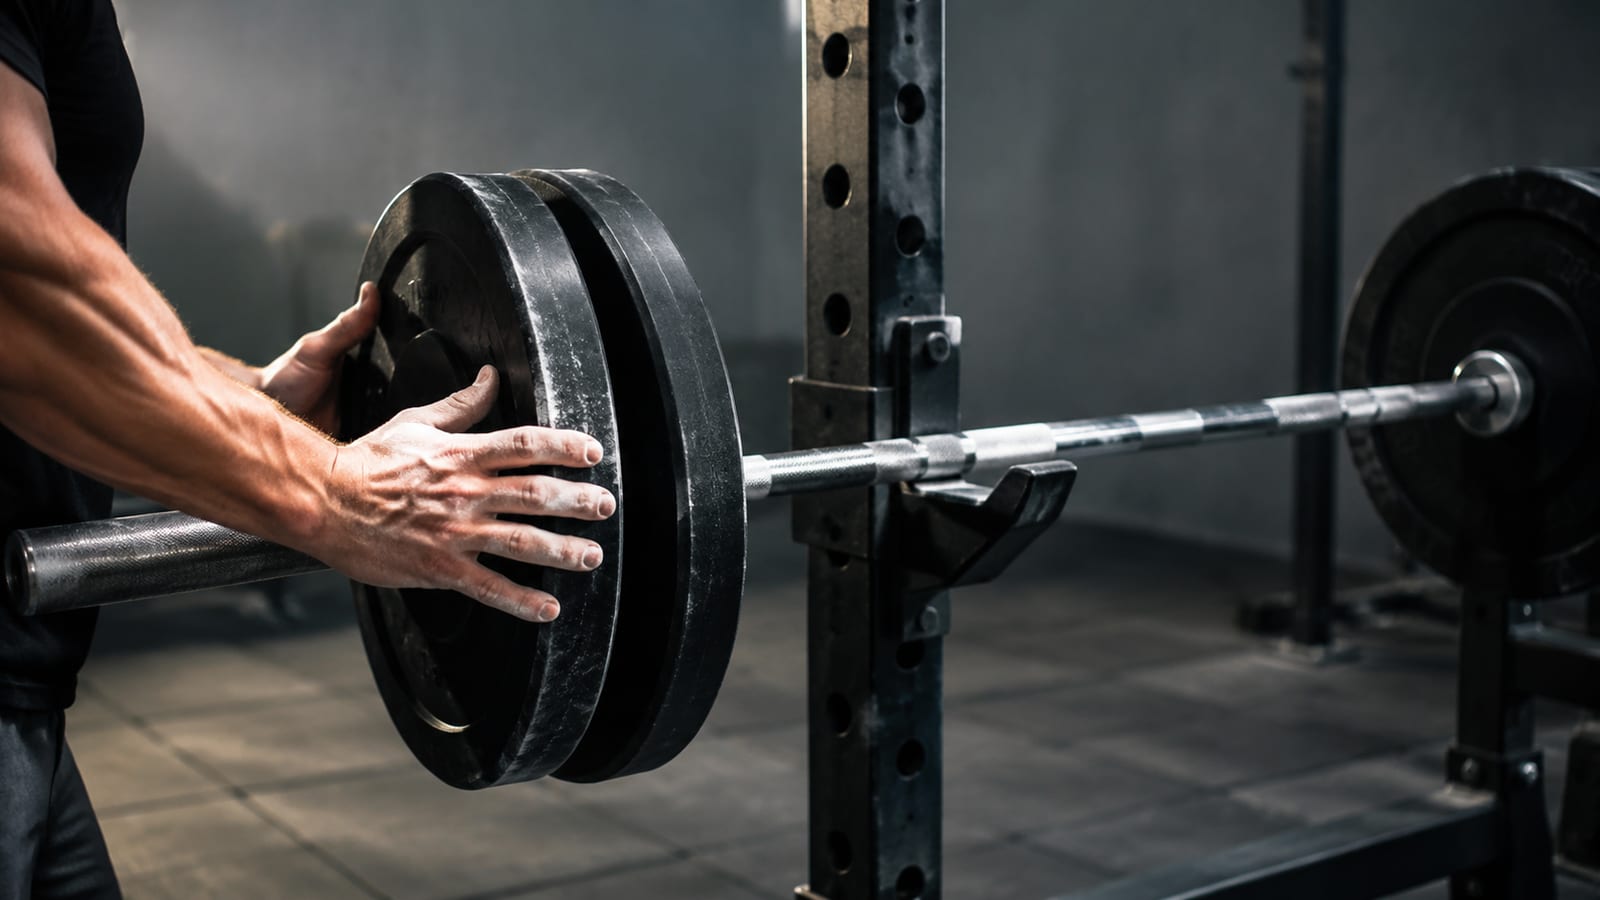
Schedule the test after a period of normal training, not after several exhausting sessions. The goal is to arrive fresh enough to show your strength while keeping the movement familiar.
Reduce hard training for the tested lift beforehand. You don’t need to stop moving, but avoid a heavy session that leaves your muscles and joints sore. Keep light practice if it helps your technique.
Sleep as well as you reasonably can. Eat normal meals that leave you fueled, and drink enough fluid to train normally. Do not treat the test as a reason to try a new supplement, unusual meal, or dramatic food change.
What should you check before loading the bar?
Check the equipment before you load the bar:
- Confirm that the rack is stable.
- Set the safety pins or arms correctly.
- Check the bench, bar, plates, collars, and floor.
- Remove loose objects from the lifting area.
- Make sure the bar can be unloaded quickly.
- Tell every spotter the plan before the first warm-up.
Write down your target attempts before you start. Choose a conservative opener, a likely second attempt, and a small final jump. A target is useful for planning, but the bar gets the final vote.
If the first heavy single moves slowly or your setup feels wrong, adjust the plan. A maximum test should reveal your strength, not demand that you pretend to have strength you don’t have.
How do you do one rep max testing safely and effectively?
Use this one rep max test protocol:
Choose one lift and one standard.
Decide the stance, grip, depth, pause, lockout, and equipment before the warm-up. Record the same details with the final result.Complete a general warm-up.
Move enough to raise your body temperature and loosen the positions used in the lift. Keep it short and easy. The warm-up should prepare you, not create fatigue.Practice the lift with an empty bar or very light load.
Use controlled reps and check your setup. If the movement feels unfamiliar, stop the test and return to practice.Add a light load.
Perform a few comfortable reps. Focus on the same bracing, bar path, and range of motion you’ll use for the heavy attempts.Move to moderate warm-up singles.
Use single repetitions as the load rises. Each rep should look clean and fast enough to show control. Stop adding reps once the weight becomes meaningful.Take a conservative first attempt.
Your opener should be a weight you expect to lift without a fight. Missing the first attempt wastes confidence and gives you no useful strength result.Rest for several minutes.
Sit down, breathe normally, and review the last rep. Don’t pace around trying to manufacture aggression. You need recovered strength and a clear setup.Take the second attempt.
Add a planned amount only if the first attempt was clean. If it was slow or technically uneven, use a smaller jump or repeat the load.Take one final serious attempt at most.
Make the last jump only if the second attempt supports it. If the second rep was a grind, the test is usually over.Record the heaviest valid lift.
Write down the load, lift variation, equipment, range-of-motion standard, and how the rep moved. A missed weight is not your maximum.
This is simple on paper and demanding in practice. The test works because it controls fatigue, load jumps, and decision-making.
What does each loading stage do?
A practical loading sequence looks like this:
| Stage | Load feel | Main purpose |
|---|---|---|
| General warm-up | Easy | Raise temperature and prepare the joints |
| Movement practice | Very light | Rehearse setup and range of motion |
| Build-up sets | Light to moderate | Add load without wasting reps |
| Warm-up singles | Challenging but crisp | Prepare for heavy attempts |
| First attempt | Conservative | Secure a valid result |
| Second attempt | Heavy but controlled | Establish the likely maximum |
| Final attempt | Small planned increase | Test the top end without forcing it |
The exact load depends on your estimated strength, training history, and the day’s readiness. If you don’t know your likely maximum, use more gradual jumps and keep the opener easier.
Do not use warm-up sets to prove toughness. Every extra rep takes strength from the attempts that matter.
Technique that keeps the single valid
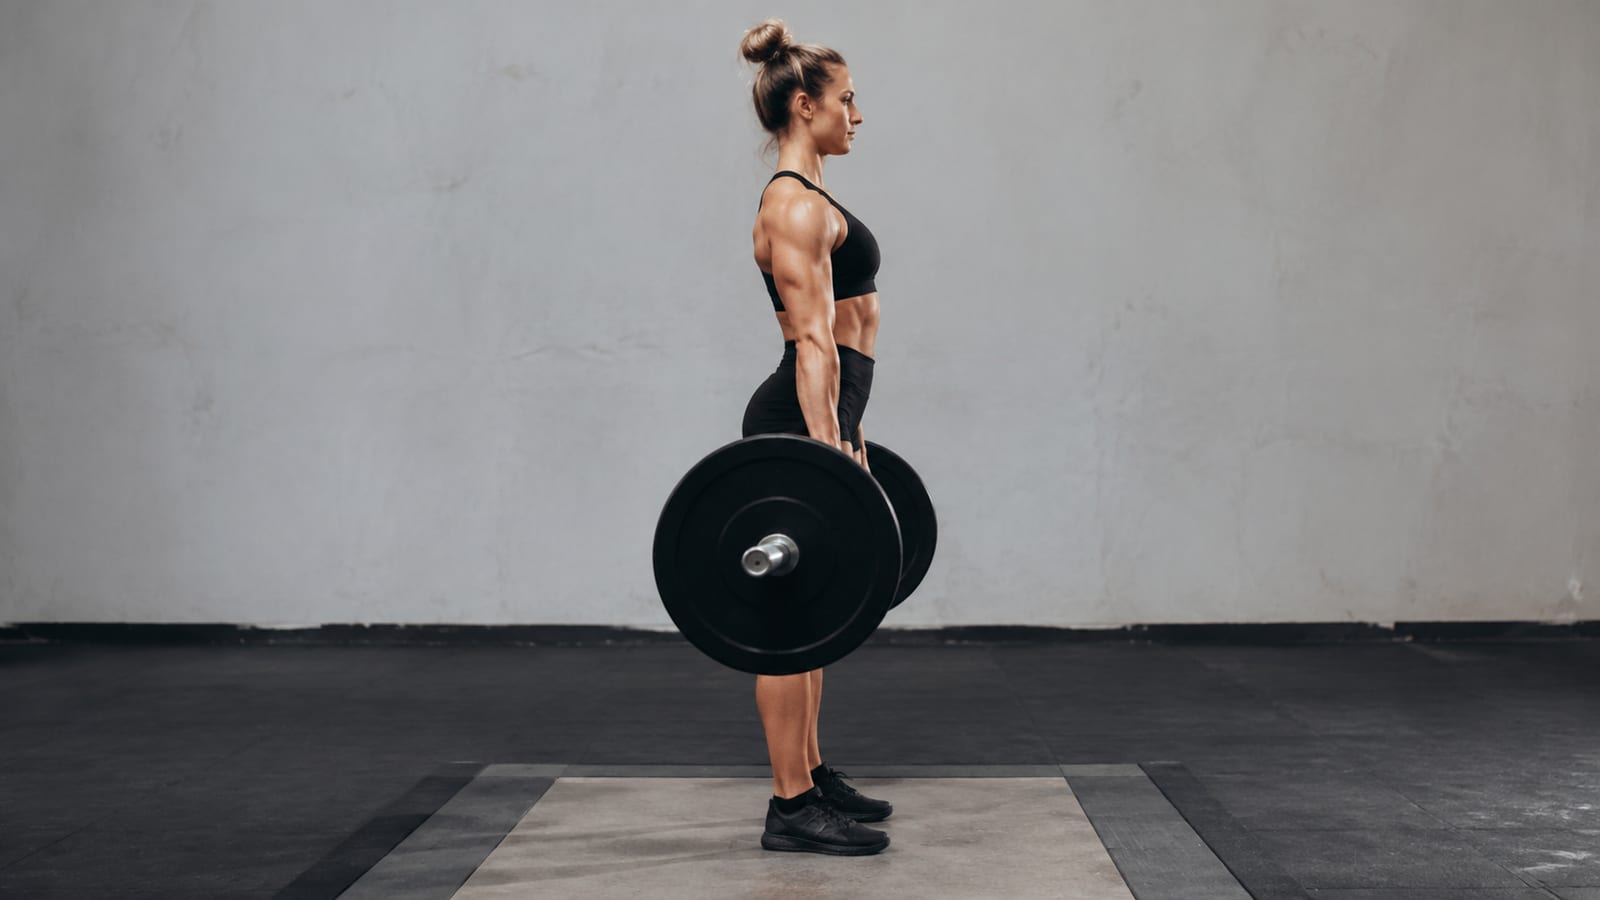
Set up the same way for every serious attempt. Place your feet, grip the bar, brace, unrack or pull with control, and start only when you’re stable.
Use the range of motion you agreed on before the test. A squat that stops high, a bench press that never reaches the chest, or a deadlift that finishes with a soft lockout may produce a bigger number. It doesn’t produce a useful result.
Keep the bar path controlled. The bar may slow under heavy load, but it shouldn’t drift because your position collapsed. A slow rep with stable technique can count. A fast rep with poor control may not.
Leave a margin before technical failure. You don’t need the rep to look easy, but you do need to finish without a spotter lifting the bar or changing the movement for you. If the final part becomes a long fight, record the previous clean single.
A grinder creates three problems:
- It adds fatigue that can affect the rest of your training week.
- It makes the result harder to repeat.
- It teaches you to chase a number instead of building strength.
The only result worth recording is the heaviest single that meets your standard without outside help. If you want more productive strength work after the test, use linear progression rather than repeating maximum attempts every session.
Adjusting the load after each attempt
Use the last rep to choose the next load. Don’t follow the plan blindly after the bar gives you new information.
After an easy successful attempt, make a small increase. “Easy” means the rep was complete, controlled, and clearly left room for another clean effort.
After a successful but slow attempt, make a smaller increase or end the test. A slow rep can still be valid, but it has already shown that you’re near the limit.
After a miss, identify why it failed:
- Setup failed: reset and use the same load only if the mistake was clear and harmless.
- Technique failed: stop the test unless you can correct it without added fatigue.
- The load was simply too heavy: reduce the weight and take a clean single if you still feel stable.
- Pain appeared: end the test.
Don’t take repeated misses to “find out.” The result is the heaviest successful lift, not the heaviest weight you touched.
Stop the session if your bar path changes, your bracing disappears, or your confidence drops sharply. Strength testing is not a character exam.
Spotters, safeties, and technique rules
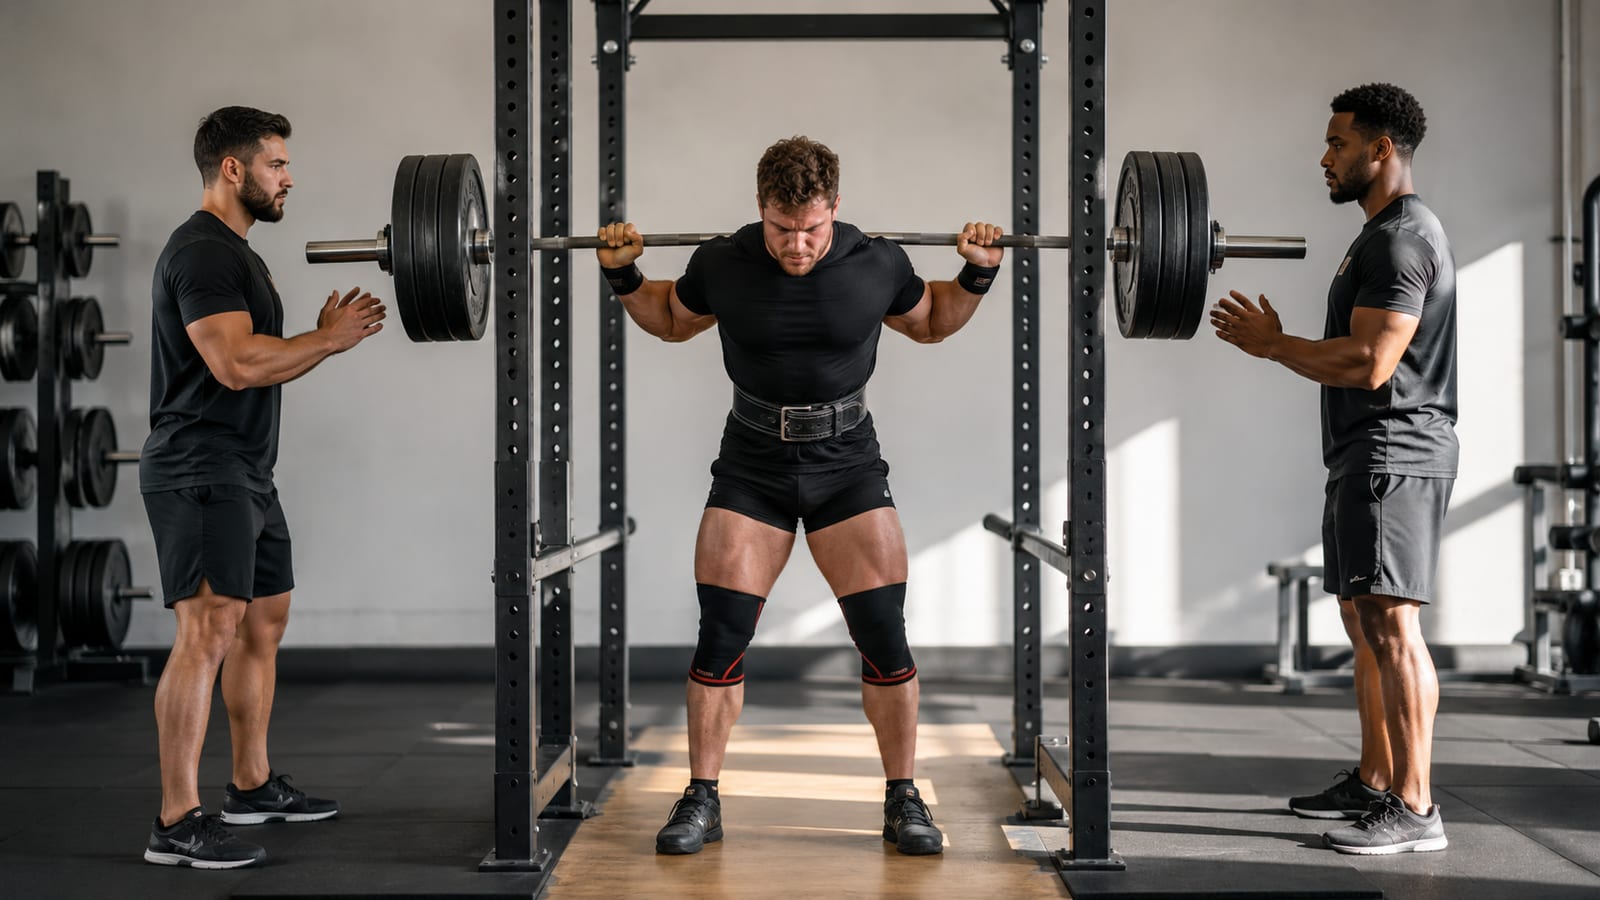
A spotter should know the lift and the assistance plan. For a bench press, use a liftoff only if it helps you keep your setup. Spotters should follow the bar closely without touching it unless the rep has clearly failed.
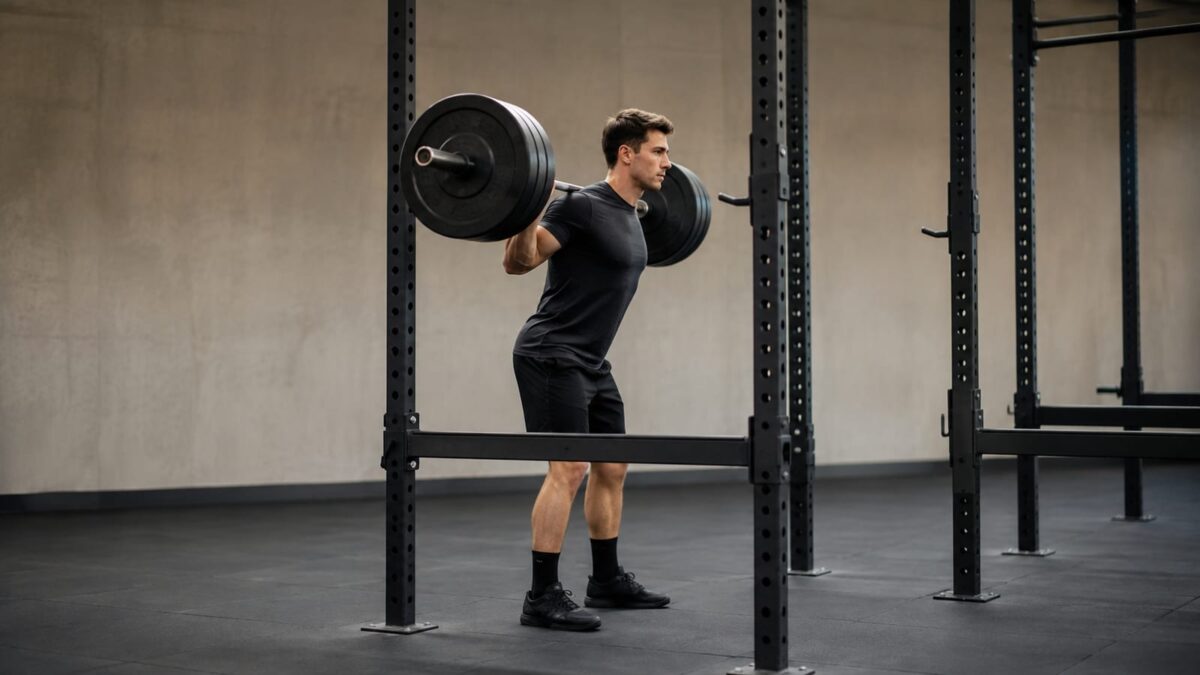
Use more than one spotter for a heavy barbell squat if your facility and experience support that setup. Otherwise, use properly adjusted rack safeties and practice how you’ll bail out before loading the bar.
Where do safeties matter most?
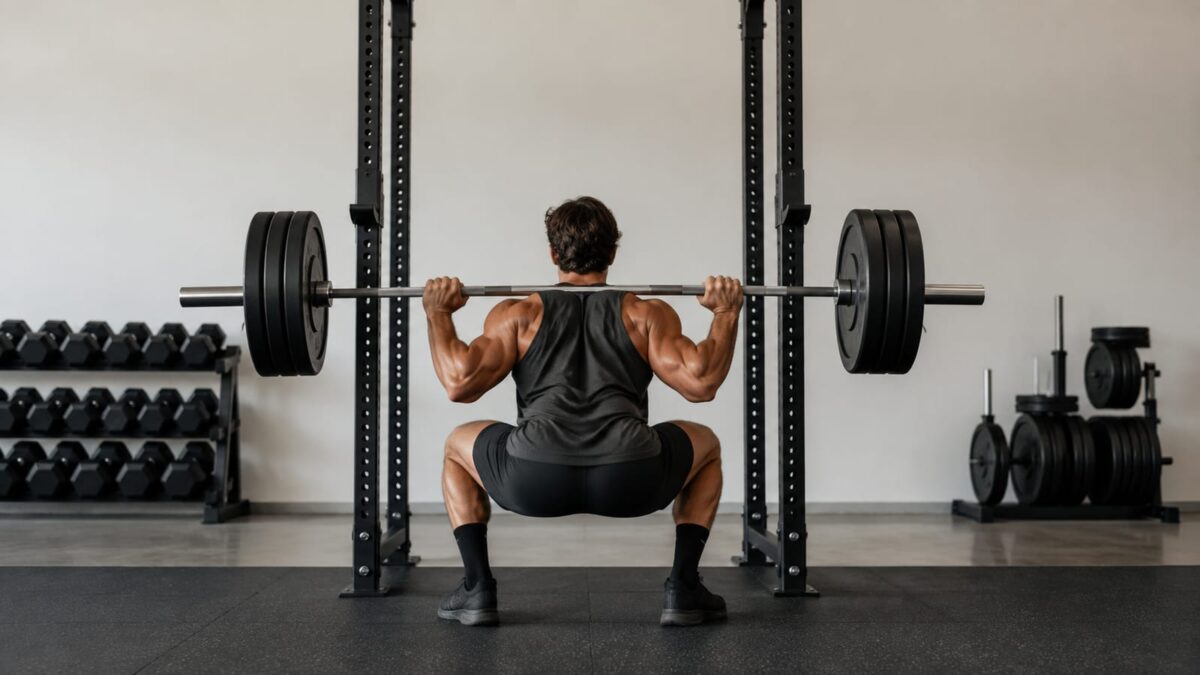
For the squat, set the safeties below the lowest point of your squat while you’re standing in the rack. They should catch the bar if you lose control, but they shouldn’t block a normal rep.
For the bench press, set the safeties so the bar can reach your chest without trapping your ribs. If the rack cannot be set safely, don’t test alone. A spotter is not a substitute for bad rack placement.
For the deadlift, spotters cannot catch a failed pull. Use clear space, secure plates with collars, and know when to lower the bar. Don’t keep pulling through a rounded position, sudden pain, or a grip that has completely failed.
Agree on commands before the attempt. Decide who says “rack,” when a spotter helps, and what happens if the lift stalls. Keep the area quiet enough for everyone to hear.
Your non-negotiable standards are simple:
- No painful movement.
- No shortened range of motion to save a rep.
- No spotter assistance on a counted lift.
- No dropped bar unless the setup allows it safely.
- No attempt without a clear exit plan.
Safety rules don’t make the test less serious. They let you train again after it.
How long should you rest between heavy one-rep attempts?
Rest until your breathing is normal, your setup feels automatic, and you can focus on the next rep. Heavy singles need longer rests than ordinary work sets.
Take several minutes after a serious attempt. Use more time if the previous rep was slow or the lift demands a lot of bracing. Upper-body lifts may feel ready sooner, while squats and deadlifts often need a longer reset.
Don’t fill the rest with extra exercises, stretching that changes your positions, or repeated practice reps. Drink if you need to, review the log, and keep the next attempt clear.
If you still feel drained after a long rest, end the test. More waiting won’t fix poor recovery, a bad warm-up, or a weight that was too ambitious.
The Brianmac 1RM test framework
The Brianmac 1 rep max test approach is useful as a basic progressive-loading outline. It recognizes that you should warm up, add weight in stages, rest between attempts, and record the heaviest successful lift.
Keep those principles. Skip the idea that a fixed formula can make the decision for you.
A protocol cannot see your squat depth, bar path, pain, confidence, or recovery. It also cannot know whether your first attempt was too heavy. Your technique and the speed of the last rep matter more than a neat loading table.
Use the Brianmac approach as a framework:
- Start with lighter work.
- Build toward heavy singles.
- Rest enough to protect performance.
- Increase the load carefully.
- Stop after a valid maximum.
Then adjust it to the lift and the lifter. A beginner needs more practice and less weight. An experienced lifter may need fewer warm-up reps but still benefits from conservative attempts.
The Brianmac 1 rep max test is not a permission slip to keep adding plates. It’s a structure. Your judgment still runs the session.
After the one-repetition maximum test
Record the result before you leave. Include the date, lift variation, load, equipment, range of motion, spotter or safety setup, and whether the rep was easy, slow, or close.
Use a conservative training max for future programming. A training max is lower than your tested maximum and gives you room to train with good reps. This prevents one unusually strong day from setting loads that your normal week cannot support.
Build future percentages from that conservative number, not from a missed attempt or a grinder. If the first workouts feel poor, lower the load and rebuild. The plan has to fit your week and your recovery.
Retest after a meaningful period of training or when your program needs a new strength marker. Don’t test every week. Frequent maximums add fatigue and can interfere with the productive sets that build the next maximum.
You can also track progress without another true max. A heavier clean single, more reps at the same load, better control, or a stronger estimated maximum can all show improvement.
A good test gives you a number. A good training plan turns that number into small increases you can repeat.
FAQ
Should you test a one-rep max alone?
You can test some lifts alone with correctly placed safeties and a clear exit plan. Don’t test a barbell bench press alone unless the rack setup protects you and you know how to escape a failed rep. For a heavy squat, experienced spotters and safeties are the better choice.
Can you test a one-rep max after a normal workout?
You shouldn’t. Fatigue changes your technique and reduces the load you can lift safely. Test the target lift first, then decide whether you have enough energy for lighter assistance work.
Is a failed one-rep max attempt useful?
It gives you information about that load on that day, but it isn’t a valid maximum. Use the failure to adjust your next attempt or end the test. Don’t keep adding attempts to turn a miss into a score.
What should you do if you feel pain during the test?
Stop the lift and end the test for that movement. Pain is not a useful effort signal. If it continues during normal training, seek assessment from a qualified health professional before loading the lift heavily again.
Is an estimated maximum enough for most training?
Yes. Most lifters can build strength from rep records and estimated numbers without testing a true single often. Test a 1RM when the result will change your training or answer a clear performance question.
Related on this blog